Page 1 of 3
DIY : How to increase airflow to your stock throttle body
Posted: Fri Nov 20, 2009 10:10 pm
by hondaNickx
Re: DIY : How to increase airflow to your stock throttle body
Posted: Fri Nov 20, 2009 10:19 pm
by hondaNickx
Re: DIY : How to increase airflow to your stock throttle body
Posted: Fri Nov 20, 2009 10:25 pm
by saxophonias
Great topic Nick! Thanks for sharing

Re: DIY : How to increase airflow to your stock throttle body
Posted: Fri Nov 20, 2009 10:36 pm
by hondaNickx
Re: DIY : How to increase airflow to your stock throttle body
Posted: Fri Nov 20, 2009 10:45 pm
by hondaNickx
saxophonias wrote:Great topic Nick! Thanks for sharing

Thx

i added a little more to the previous posts.

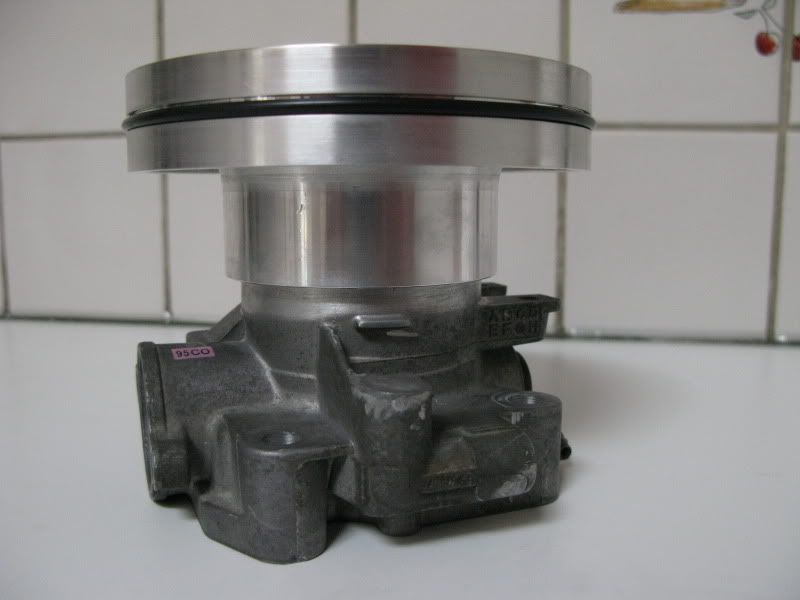
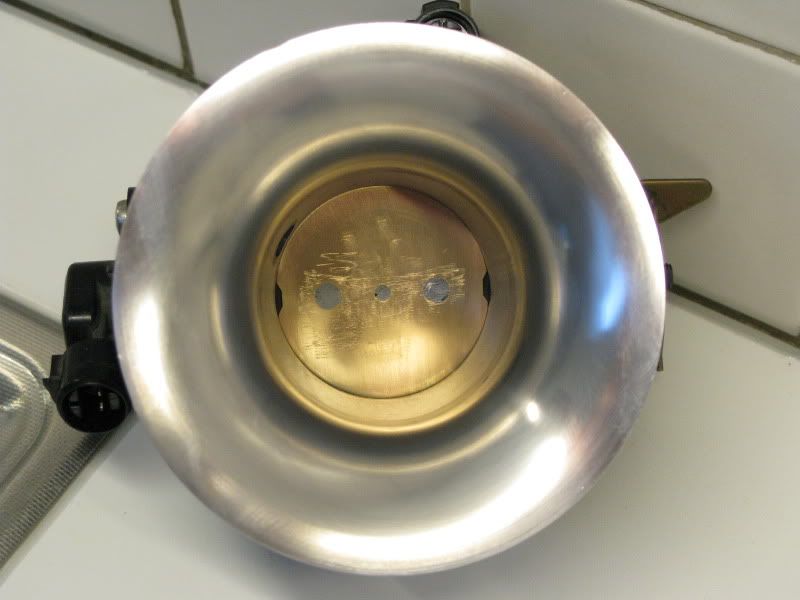
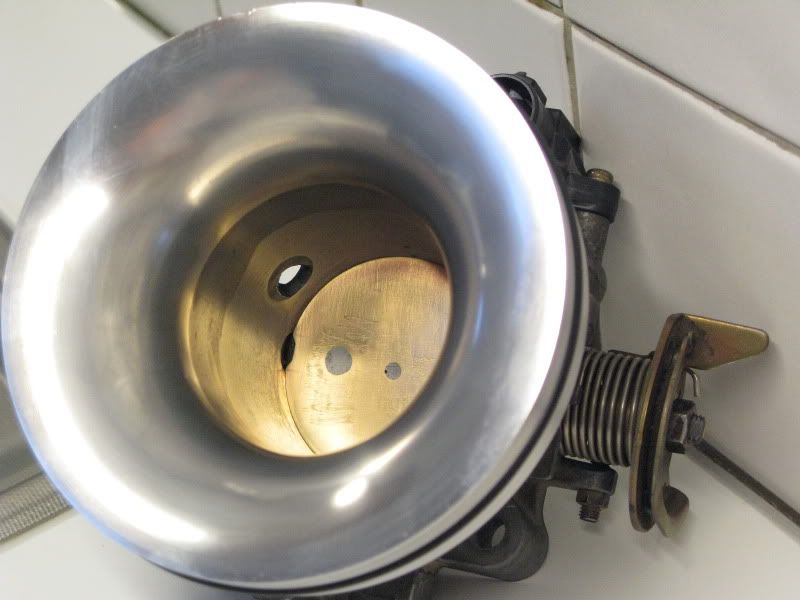
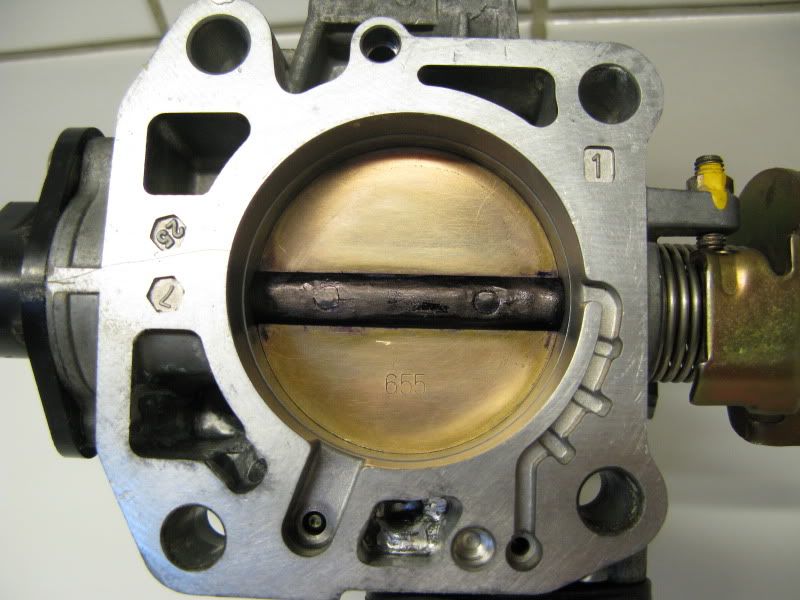
I can recomend doing the TB shaft mod ,it's not that hard if your a little handy and got some tools and a dremel.My 2nd tb (d16y8) is actually a lot cleaner it has less ports to fill and to clean up.I made the taper inside a little more steeper and further down to the butterfly on the lathe.I would also recomend Not to remove the black sealing inside around the butterfly.I didn't removed it the 2nd time and it seals up way better.I also dropped my first shaft like 10 times on the floor and it still worked good.So the shaft is still strong enough.I marked the TPS sensor with a sharp pen on the tps sensor itself and the tb.So you could assemble it back toghether and not having to recalibrate your TPS sensor.

Re: DIY : How to increase airflow to your stock throttle body
Posted: Sat Nov 21, 2009 1:25 pm
by Dodo Bizar
Really nice to see. I actually wonder how it will work without a tube fitted on it... 3d in flow case. (Probably shitty due to acoustics). Brilliant piece of craftsmanship!
Btw the other project you show form the USA with the diverging tube. I was always learned this was a terrible design with respect to resistance. A tube with same diameter entire length has less resistance I would guess, since the diverging one might develope some turbulent shedding in the negative slope area.
Re: DIY : How to increase airflow to your stock throttle body
Posted: Sat Nov 21, 2009 5:03 pm
by hondaNickx
Dodo Bizar wrote:Really nice to see. I actually wonder how it will work without a tube fitted on it... 3d in flow case. (Probably shitty due to acoustics). Brilliant piece of craftsmanship!
Btw the other project you show form the USA with the diverging tube. I was always learned this was a terrible design with respect to resistance. A tube with same diameter entire length has less resistance I would guess, since the diverging one might develope some turbulent shedding in the negative slope area.
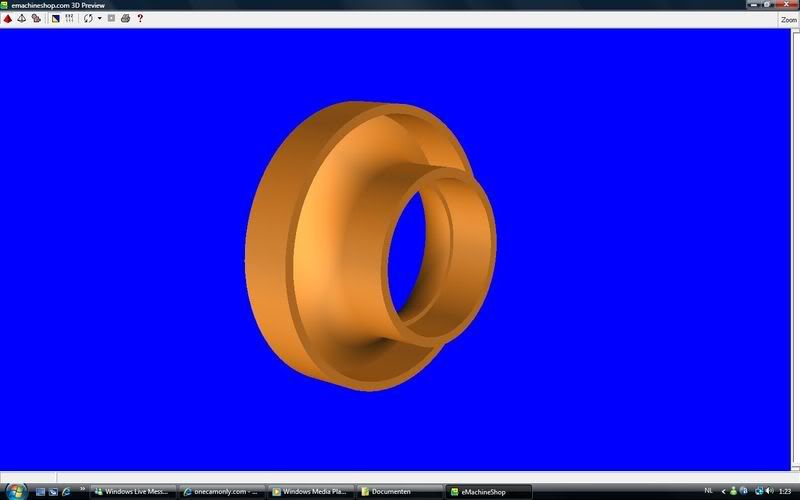
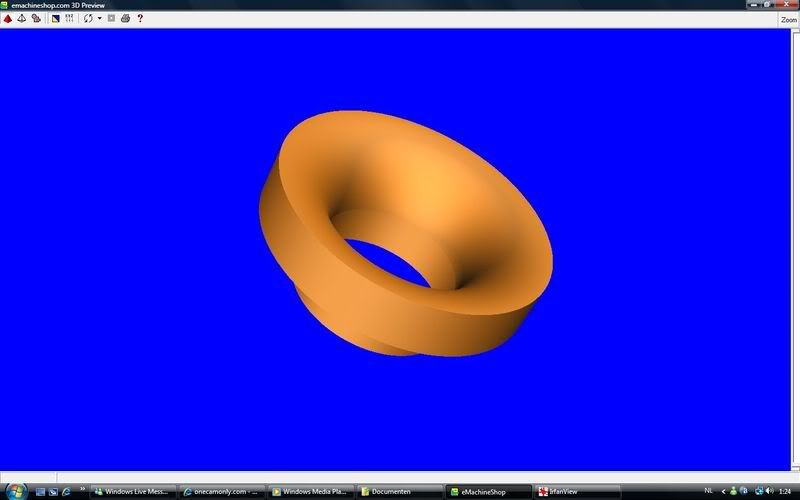
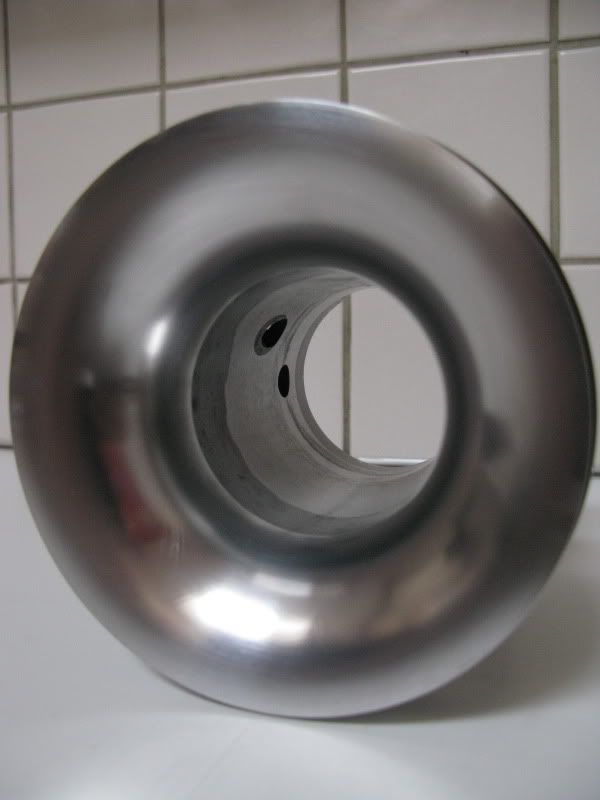
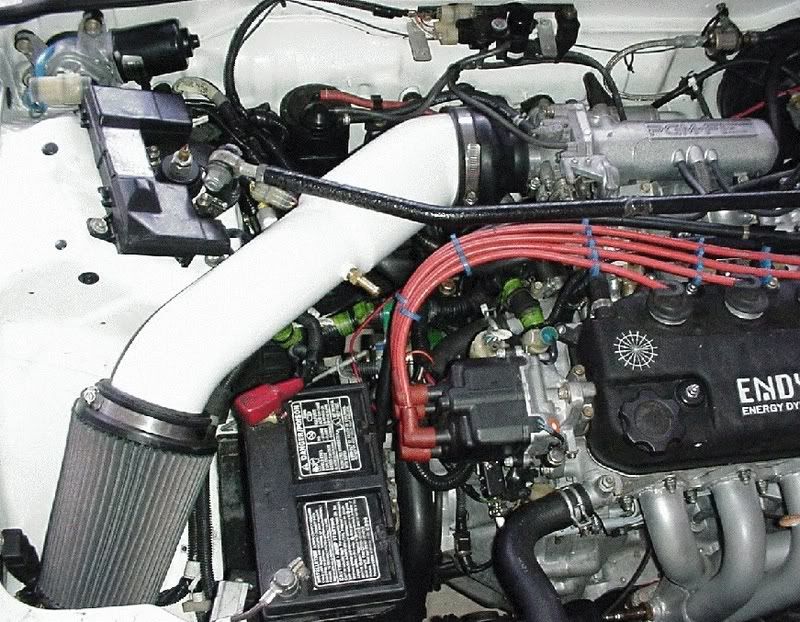
That's how Endyn made their 2nd design and they said it actually worked better then their previous design.I think the air entering actually slows down ,the Radius itself creates a pressure onto the manifold .Kinda like a turbo ...
Re: DIY : How to increase airflow to your stock throttle body
Posted: Thu Nov 26, 2009 11:20 am
by baz
Mmm great stuff Nick!
Cold you place a link from the site where you got this? Im kind off interested

Re: DIY : How to increase airflow to your stock throttle body
Posted: Sat Nov 28, 2009 5:03 pm
by hondaNickx
I made the topic and got my info from Endyn and self research.
I posted it on OneCamOnly and the topic grew there.
There is lot's of info you can find in the archive section from Endyn's website.
Also lot's of info on OneCamOnly most of the guys around there know what they are doing.
http://www.OneCamOnly.com
http://www.TheoldOne.com
Re: DIY : How to increase airflow to your stock throttle body
Posted: Sun Jul 11, 2010 9:35 pm
by hondaNickx
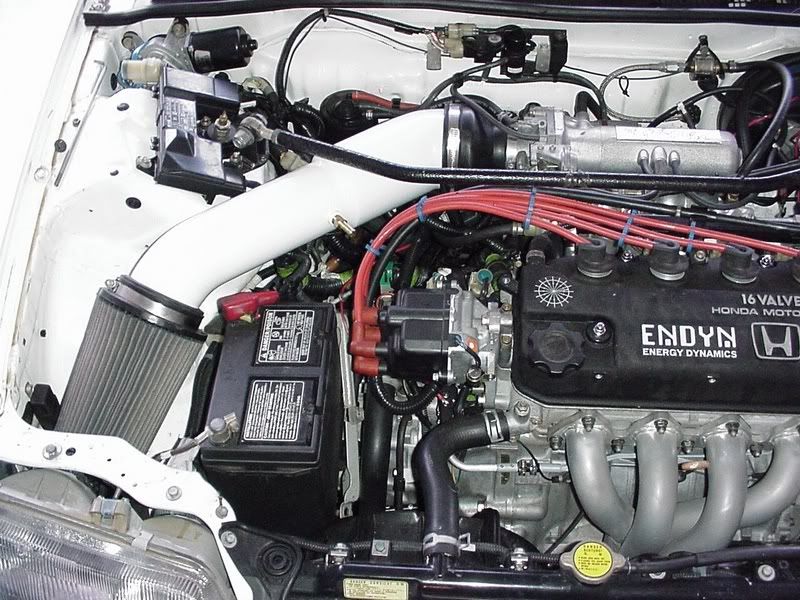
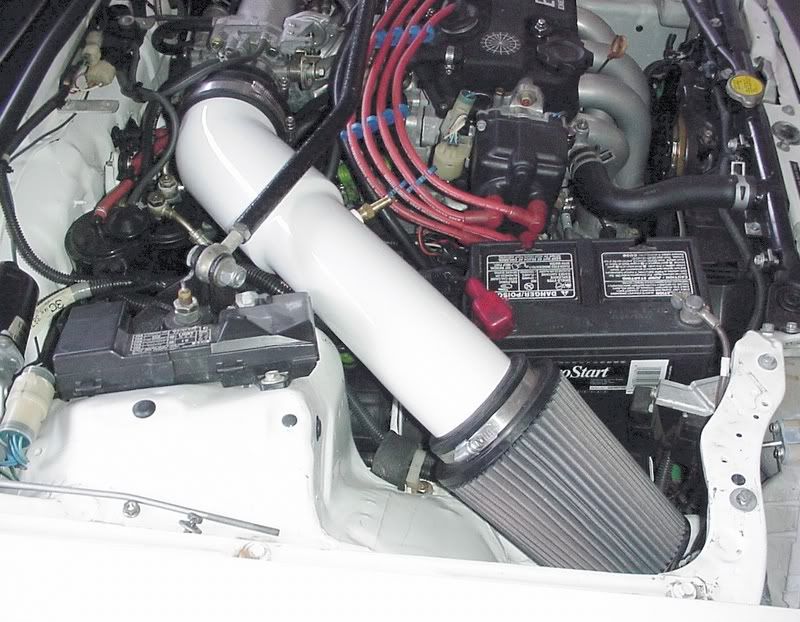
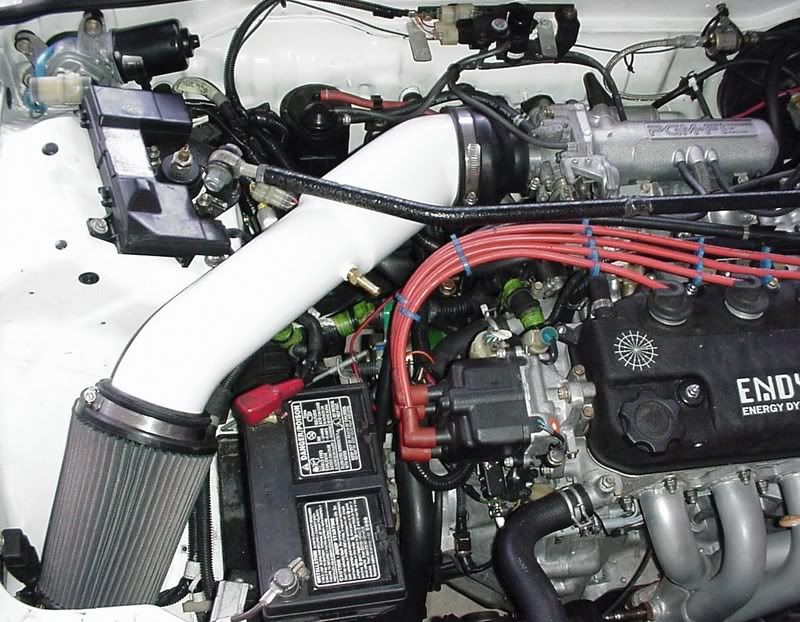
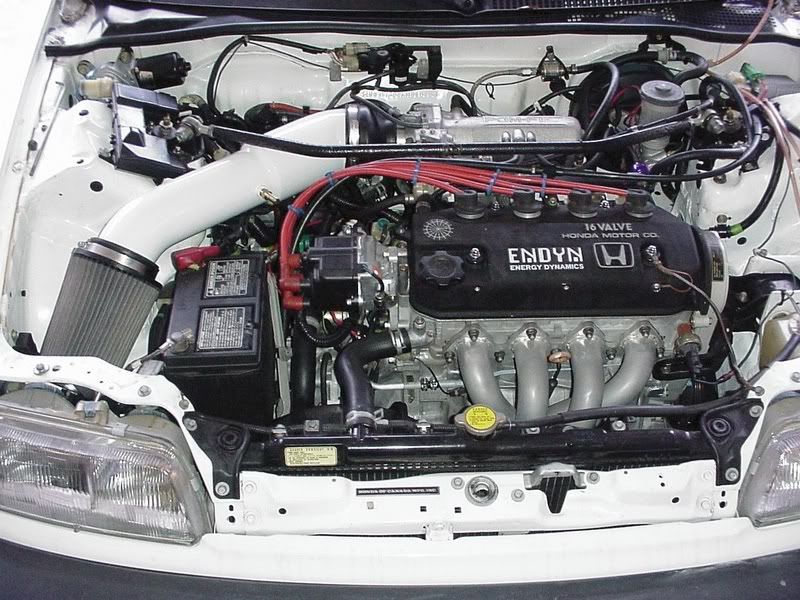
In the states "Glenniz" from OneCamOnly got some more work done...
Glenniz wrote:OK Guys,
It's been a year and a half since some of us members got together and decided to go with Nick's idea of making a TBRIA (throttle body radius inlet adapter).
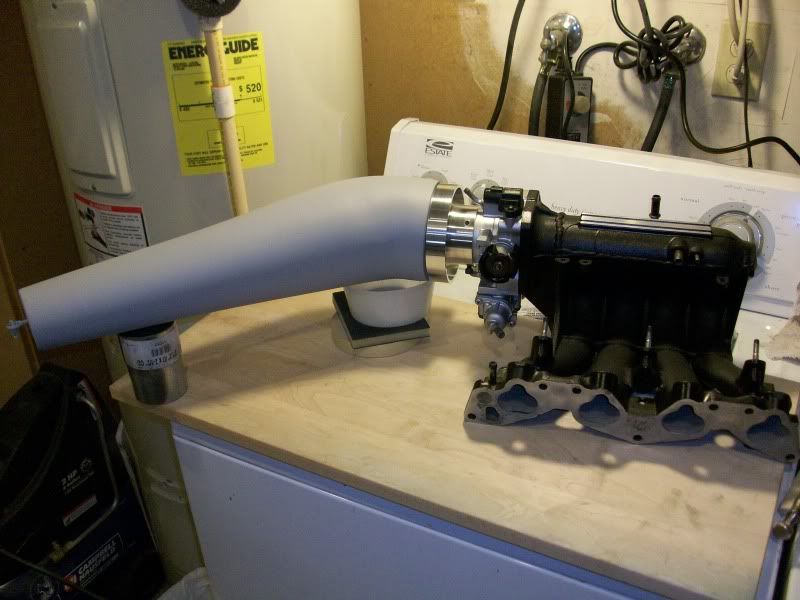
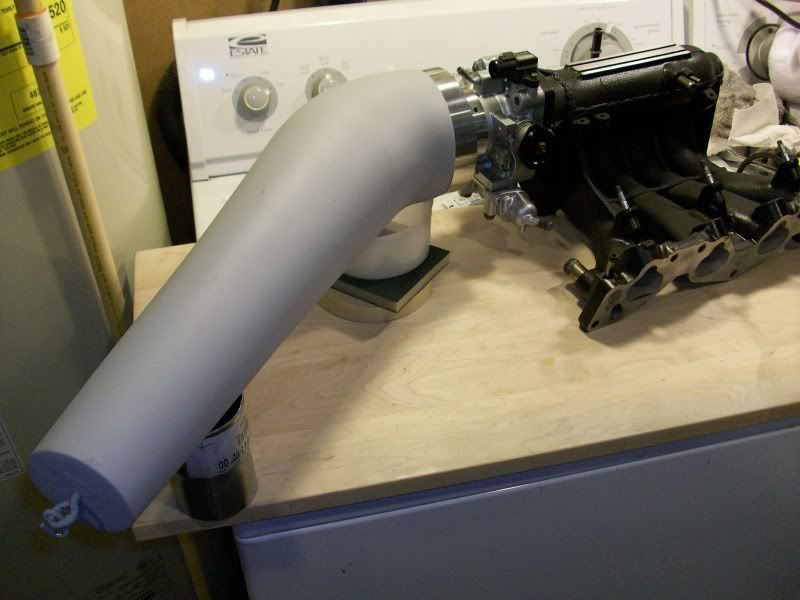
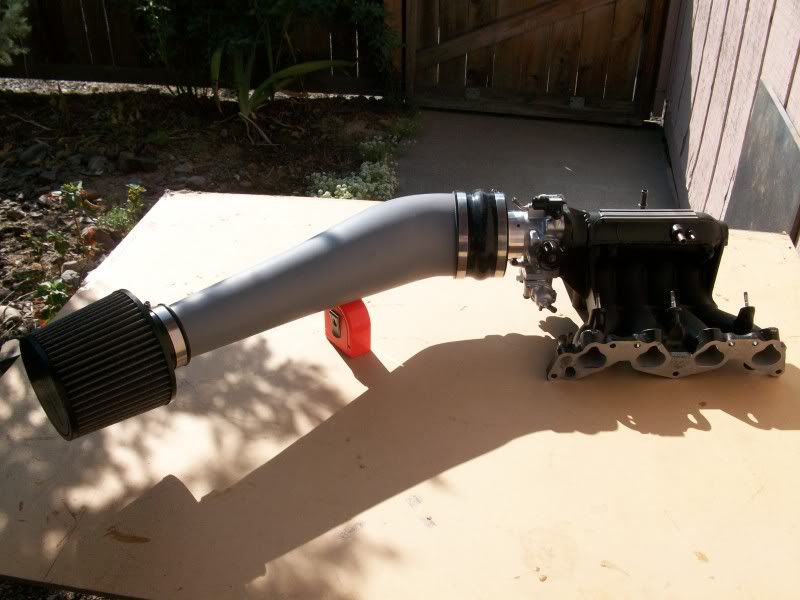
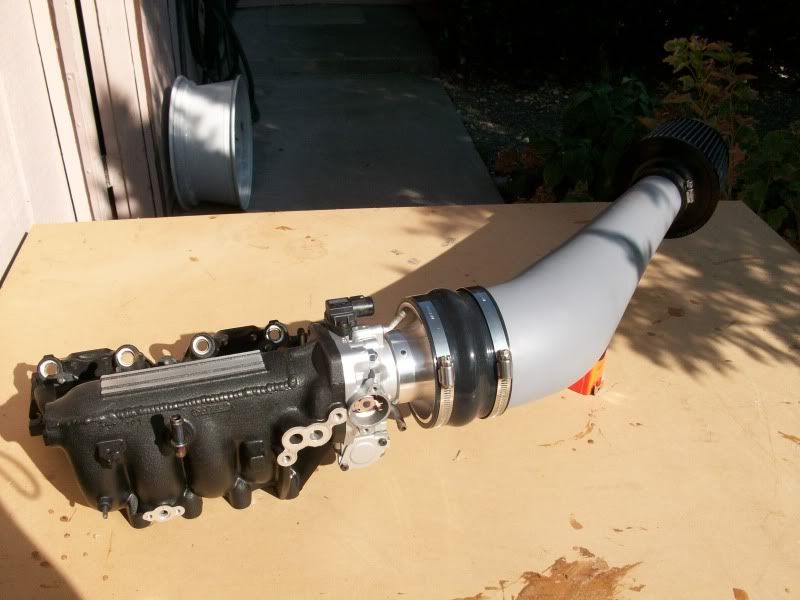
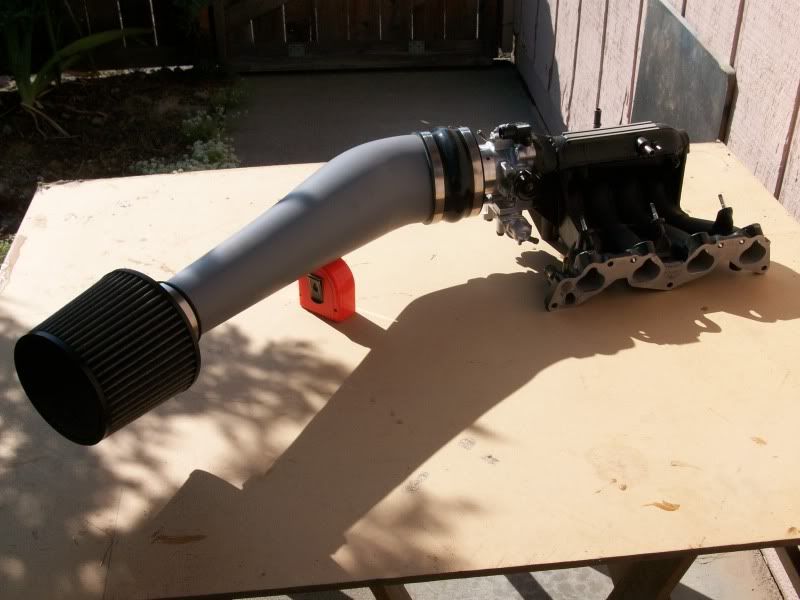
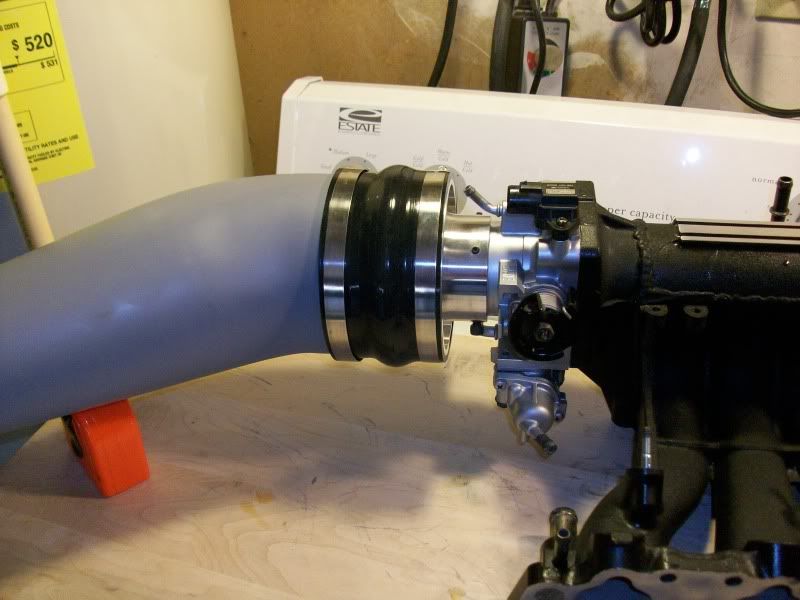
The problem we had was trying to come up with an intake and coupler that would work with the TBRIA. I came up with an idea about eight months ago but because of school I had not been able to complete the project. Until now.
Here are some pics along with a short description of how the process worked out.
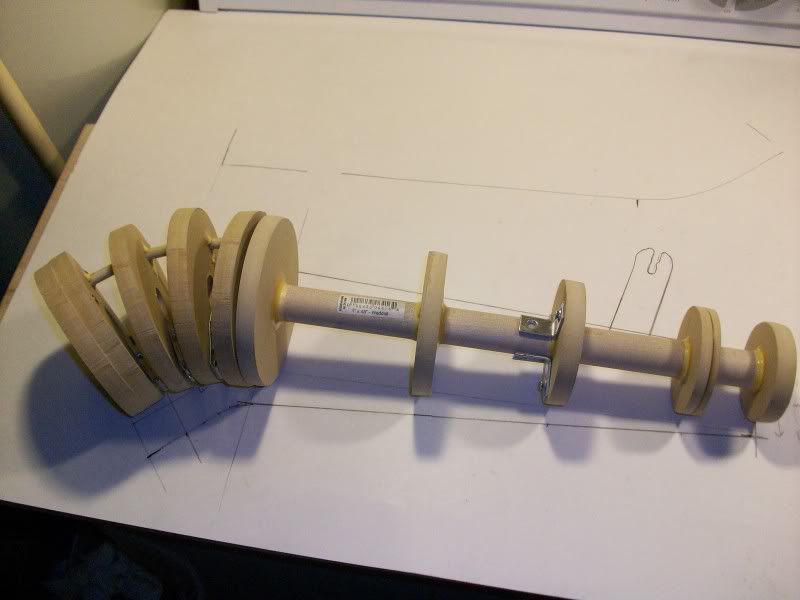
Back in this thread I had photos of how I made the plug that would eventually lead to the mold. The pics here start with making the mold.

Apply two coats of resin allowing to dry two hours in between coats.

Apply six to eight layers of fiberglass 2oz. cloth using resin in between layers of cloth.
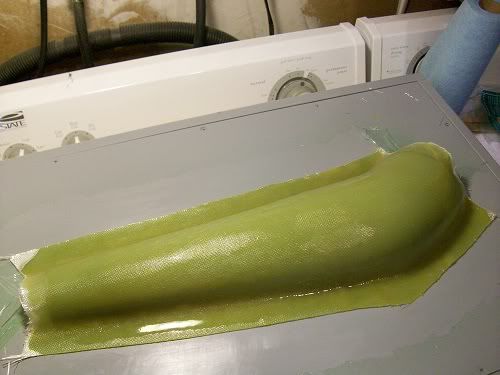
After letting the fiberglass cure for twenty four hours, remove the plug and start the same process to the other side.

When the second side has cured for twenty four hours, remove the plug and begin separating.

Trim away all the excess fiberglass and you now have a nice clean mold to work with.

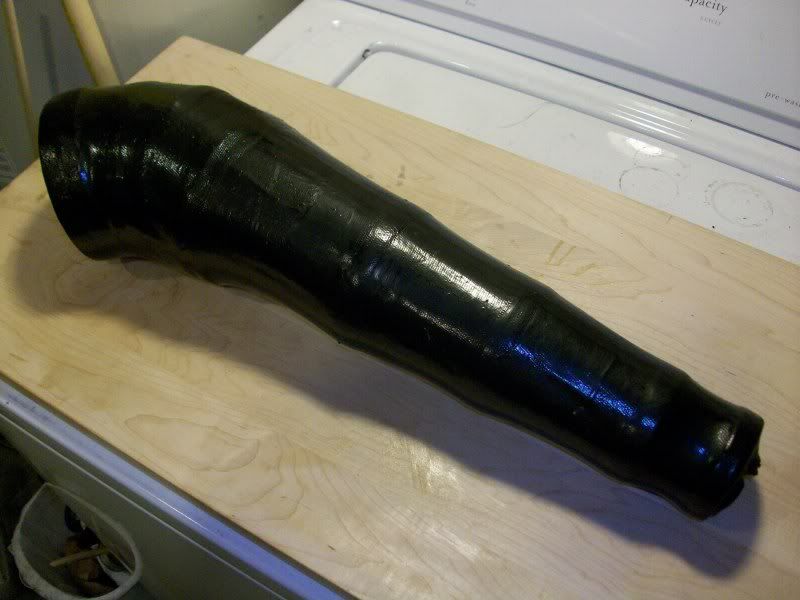
After applying basically the same process as before, only now to the inside of the mold, you come out with an intake that is in rough form.
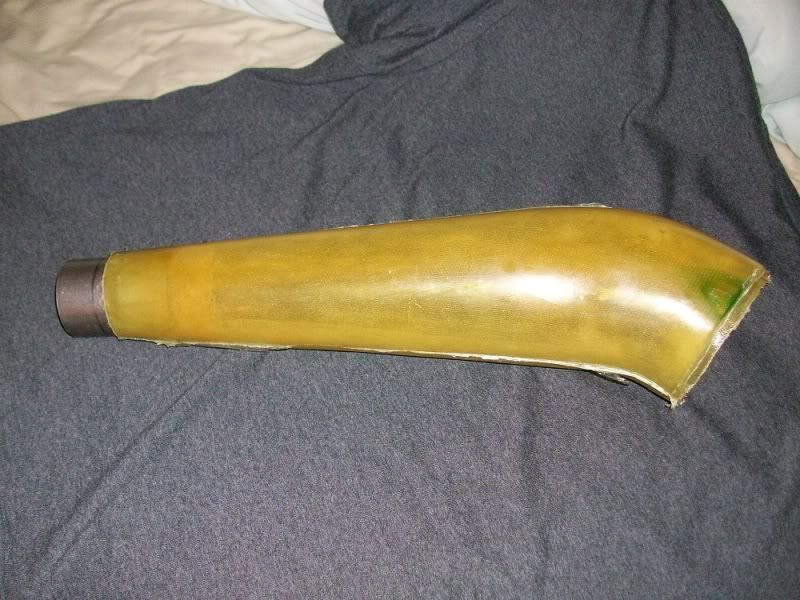
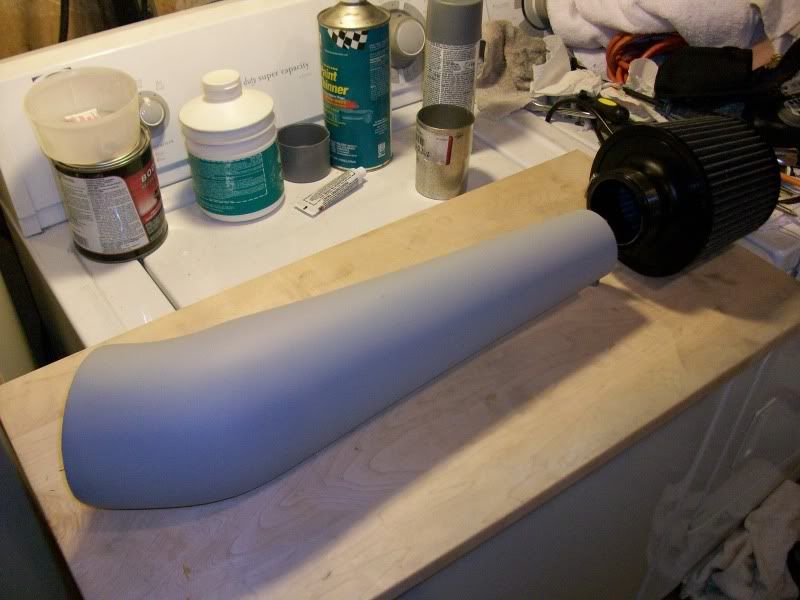
After a little trimming, sanding, primer and painting, you come out with something that looks like this.

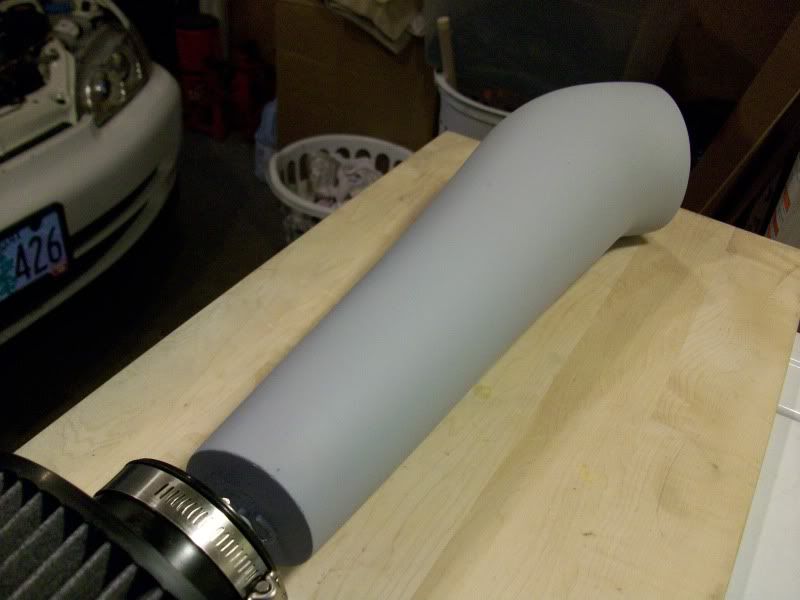
Here is everything ready to be installed when I get around to installing the head that I ported. Should be very soon now!

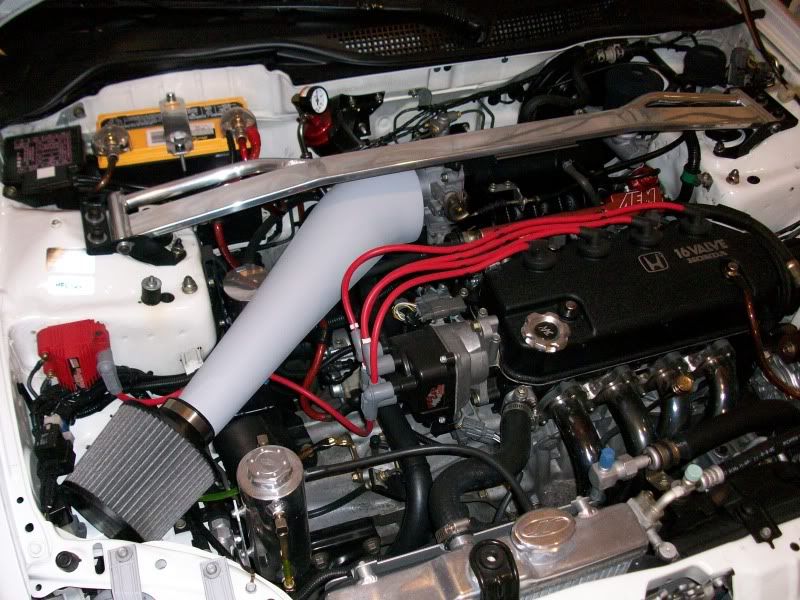
Here are a couple of pictures of everything mocked up.

And of course, I haven't even installed the intake yet and I am already starting a new and improved version that will be able to be installed as a Cold Air Intake as well as a Short Ram Intake.

Glenniz wrote:Yeah Baby!!!!
Today was the trial run for the TBRIA and TBRIA Custom Intake. Basically I wanted to make sure of fitment so that the intake can be used on all 92-95 Civics, 2DR, 3DR and 4dr in either SRI or CAI design. With a little tweaking here and there I think we will be in business. I'll should have one of the intakes in Beave's hands over the next week, so I'll make him my 3DR Guinea Pig.
Bottom line is, The TBRIA was installed with nothing else changed on the motor. No change in fuel pressure, my ecu is not chipped so there are no changes there and I'm still using the oem 240cc injectors.
At low rpm's i notice a slight difference, but a 4200 rpm's it starts pulling and pulling and pulling, all the way to about 7000 rpm's. I didn't take it beyond that because I hit the rev limiter right after that.
All I can say is that it works very, very well, and with the addition of the ported Z6 intake, the RDX injectors and my ecu chipped, this little fuc%er should pull very hard. Some time in July I should have it on the dyno so I can do some comparative pulls. That's when we will know for sure. I will also post pic's of it in CAI design as well as when I paint it.
Thank You Nick for getting all of this started!!! You are the MAN!!!!

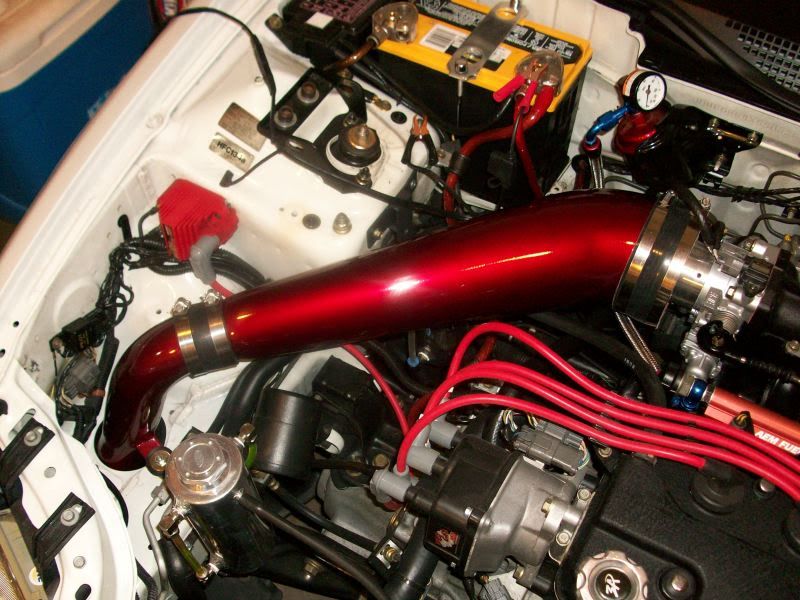
The first initinal test was positive,we/i still need to test it on a Dyno to know for sure it actually works.Glenn is gonna send me copie of his intake pipe he made ,this way i can test the "Tbira" on my z6 intake that i'm using currently.I still need to mock up my aluminium intake pipe for my Edelbrock intake manifold.
 .
.


